The Perfect Sunday DIY Project
A gallery wall is a fab design idea that can instantly transform a dull wall into a dynamic display of memories, inspirations and dreams, and it can all be done in a Sunday afternoon!
Are you ready to liven up your wall? Then let’s dive in! The first thing to remember is don’t stress out at the beginning. You don’t need to feel like you have to get it right the first time. Feel free to experiment and try swapping out different pieces and objects before you start banging nails into the wall.
8 Secrets for Hanging Stunning Gallery Walls
Tip 1
Mix it up or have a theme
The diverse use of frames, photos, prints, and objects will allow you to grow your gallery wall. Another design approach is to think of your gallery wall as a single piece of artwork and follow a consistent color, style or theme throughout.
Tip 2
Nice looking frames add impact
Don’t forget about the frame. Frames add lots of interest, personality, and color – most of all, they don’t have to be expensive. Stop by your local thrift store and you might find interesting old frames that can be repainted or fixed up.
Tip 3
Think outside the box, or stay in it
Quirky round or oval frames, mirrors, fans, objects, and masks can be fun, eye-catching additions to your gallery wall. Or stay in the box with consistent frame colors and styles for a more modern look.
Tip 4
Decide on a centerpiece
Large artwork commands attention so place your largest piece at eye level and towards the middle of your design. All of the other frames will radiate around this focal point.
Tip 5
Design on the floor first
Creating lots of different floor layouts lets you try different design ideas quickly. This is your time to be creative so try out lots of ideas. Start by placing bigger artwork first and then fill in the spaces with the smaller pieces.
Tip 6
Watch your spacing
Adding some space between artwork will make your gallery seem more orderly. Some artwork can be closer together to draw attention to a particular group. Look around your home for a handy lid, book or object that you can use as a quick reference.
Tip 7
Put it on the wall with paper templates first
Once you have decided on your final layout, get some newspaper or craft paper and trace the outline of each frame. Next, cut out the outline and label the paper template so you know which artwork it refers to.
Tip 8
Start in the middle and work outward
Use masking tape or painters tape to hang your paper templates on the wall and recreate your floor design. Start by positioning your centerpiece template first and then move outward.
Take your time because this is the last look before you start hanging pictures on the wall.
3 Easy Steps to Hanging Your Artwork

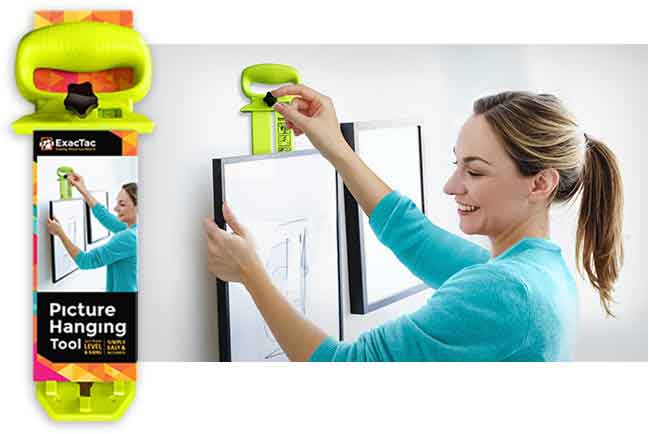
The ExacTac picture hanging tool is the best tool to use for quickly hanging gallery walls because it’s so simple to use. It works with all types of hanging hardware and most importantly, there’s no measuring or marking need!
Step 1
Step 2
Step 3
Get The ExacTac Picture Hanging Tool
Plus get 12 gallery wall templates to use for inspiration to creating a stunning gallery wall.
Only $19.99


